The free command in Linux is a handy tool for system administrators and other users as well. It provides valuable information about the available and used memory in the system. In this article, I will describe the free command in Linux and its various options, with practical examples that demonstrate its usage.
A. Description
The free command in Linux is a useful tool that outputs the summary of RAM availability and usage, including the amount of physical memory, swap memory, and buffers. The command facilitates the monitoring of resource utilization and enables administrators to assess if sufficient space is available to run additional applications.
B. Syntax
The syntax of the free command in Linux is simple, as shown below.
free [OPTION]...C. Options
The free command has multiple options available. I have listed a few of them. You can learn more about the free command, its options and their uses by checking the man page.
man free- -b, –bytes: Prints the amount of memory in bytes.
- -k, –kibi: Prints the amount of memory in kibibytes. This is the default.
- -m, –mebi: Prints the amount of memory in mebibytes.
- -g, –gibi: Prints the amount of memory in gibibytes.
- –tebi: Prints the amount of memory in tebibytes.
- –pebi: Prints the amount of memory in pebibytes.
- –kilo: Prints the amount of memory in kilobytes.
- –mega: Prints the amount of memory in megabytes.
- –giga: Prints the amount of memory in gigabytes.
- –tera: Prints the amount of memory in terabytes.
- –peta: Prints the amount of memory in petabytes.
- -h, –human: Prints the memory in a human-readable format.
- -w, –wide: Switch to Wide mode, which generates lines exceeding 80 characters.
- -c, –count “X”: Displays the result X times. Requires the -s option.
- -s, –seconds “X”: Continuously prints result after every ‘X’ seconds.
- –si: Uses kilo, mega, giga etc (power of 1000) instead of kibi, mebi, gibi (power of 1024).
- -t, –total: Prints the total amount of free and used physical memories in kilobytes.
- -V,–version: Displays the version of the free command.
- –help: Displays the help information of free command.
Practical Examples of the “free” Command in Linux
In Linux, the free command is a helpful tool to get information about the available and used memory in the system. In the section below, I will show you some of the most useful applications for the free command in Linux.
Example 1: Output Memory Usage in Human Readable Format
A useful way to keep track of your system’s memory usage is to output memory usage in a human-readable format. Whether you are a system administrator trying to troubleshoot performance issues or you are trying to optimize your code, understanding the memory usage of your system is important. In a Linux environment, the “free” command is commonly used to display information about total memory, usage and the available amount of memory, all in kilobytes. However, this output can be difficult for a human to interpret. So, you can follow the steps below to get the output in a human-readable format using option -h with the free command.
Steps to Follow >
➊ At first, open the Ubuntu Terminal.
➋ Now, execute the following command.
free -h➌ Then, press the ENTER key.
Output >
In the following image, you can see that I have displayed the memory amount in a human-readable format.
Similar Readings
- The “time” Command in Linux [4 Practical Examples]
- The “tty” Command in Linux [4 Practical Examples]
- The “uptime” Command in Linux [5 Practical Examples]
- The “vmstat” Command in Linux [6 Practical Examples]
- The “uname” Command in Linux [11 Practical Examples]
- The “apt-get” Command in Linux [10 Practical Examples]
Example 2: Continuously Show Memory Usage After a Specific Time
You can monitor the amount of memory usage after a specific time using the free command combined with the option -s. The option -s of the free command generally sets the interval between updates in seconds. In this section, I will demonstrate the use of the -s option as well as its output. You can do the same by following the steps given below.
Steps to Follow >
➊ First, open the Ubuntu Terminal.
➋ Next, run the command to continuously display the memory usage in a time interval of “5” seconds.
free -s 5➌ Finally, tap the ENTER button.
Output >
As you can see in the image below, I have continuously displayed the memory status over a 5-seconds time span.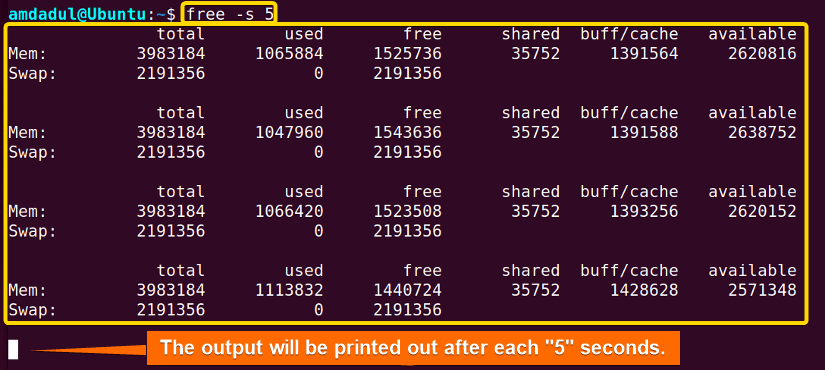
Example 3: Specify Output Units of “free” Command in Linux
The free command in Linux allows you to specify the units of memory usage. There are different units like bytes, kibibytes, mebibytes, gibibytes, tebibytes, pebibytes, kilobytes, megabytes, etc. The options for each unit are mentioned in the “Useful Options” section. In this example, I will display the memory status in mebibytes (using option -m, –mebi) and megabytes (using option –mega) units. However, the –mega option gives the same output as that of the combined options –si -m or –si –mebi. You can use the options to display the memory in the following manner.
Steps to Follow >
➊ Open the Ubuntu Terminal.
➋ Execute the following command to display the memory usage in the mebibytes unit.
free -mOR,
free --mebi➌ Then, press the ENTER key.
➍ Now, run the following command to display the memory usage in megabytes.
free --mega➎ At this point, hit the ENTER button.
➏ You can get the exact same result as “free –mega” by executing the command below.
free --si -mOR,
free --si --mebi➐ In the end, tap the ENTER button.
Output >
In the following image, you can see that I have displayed the memory usage in different units using the free command.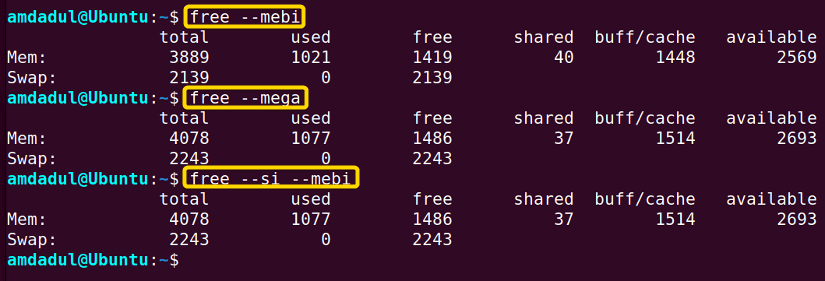
Similar Readings
- The “top” Command in Linux [8 Practical Examples]
- The “getent” Command in Linux [11 Practical Examples]
- The “groupadd” Command in Linux [7 Practical Examples]
- The “addgroup” Command in Linux [7 Practical Examples]
- The “groups” Command in Linux [6 Practical Examples]
- The “firewall-cmd” Command in Linux [7 Practical Examples]
Example 4: Print Output Memory Details Multiple Times Using the “free” Command in Linux
The “free” command provides an easy way to check memory usage, and with the “-c” option, you can print the output multiple times. The “-c” option sets the number of updates, making it easy to monitor memory usage over time. In this example, I will print out the memory details three times in the terminal. You can do the same by following the steps below.
Steps to Follow >
➊ Open the Ubuntu Terminal.
➋ Then, execute the below command.
free -c 3➌ Press the ENTER button.
Output >
The below image shows that I have printed out the memory details three times in the terminal.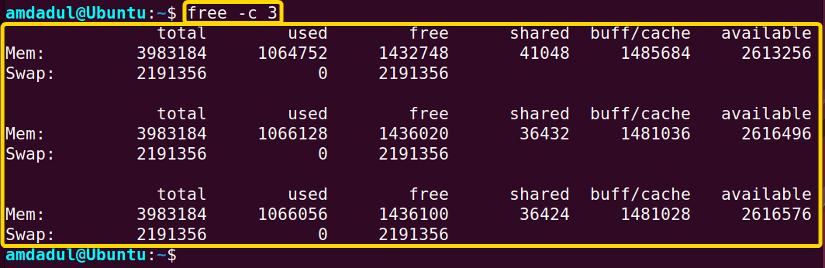
Example 5: Separate Buff and Cache Columns Using the “free” Command in Linux
The “free” command with the “-w” option in Linux provides a useful way to separate buffers and cache memory and monitor memory usage more effectively. By separating these columns, you can obtain a clearer picture of memory usage and make decisions about performance optimization and troubleshooting. In this example, I will show you the process to separate the “buffers” and “cache” columns. You can do the same by following the steps below.
Steps to Follow >
➊ First, open the Ubuntu Terminal.
➋ Then, execute the following command.
free -w➌After that, hit the ENTER key again.
Output >
The image below displays the separation of the “buffers” and “cache” columns while displaying the memory details.
Similar Readings
- The “groupmod” Command in Linux [5+ Practical Examples]
- The “id” Command in Linux [7+ Practical Examples]
- The “service” Command in Linux [6 Practical Examples]
- The “sestatus” Command in Linux [4 Practical Examples]
- The “shutdown” Command in Linux [7 Practical Examples]
- The “finger” Command in Linux [6 Practical Examples]
Example 6: Displaying the Total Memory Column Using the “free” Command in Linux
The “free” command with the “-t” option in Linux provides a useful way to display the total memory. By including the total memory in the output, you can obtain a clearer picture of memory usage. Here, in this section, I will show you how to display the “total” column, which displays the amount of total memory usage. You can do the same by following the steps below.
Steps to Follow >
➊ Open the Ubuntu Terminal.
➋ Then, execute the command below.
free -h -tOR,
free -h --total➌ Now, tap the ENTER button.
Output >
In the following image, you can see that I have displayed the total memory column using the “free” command in Linux.
Example 7: Get Help About the “free” Command in Linux
In Linux, the help page for the free command contains a brief description of the command. You can see the help page by following the steps mentioned below.
Steps to Follow >
➊ At first, open the Ubuntu Terminal.
➋ Then, type the following command into the command prompt:
free --help➌ Now, press the ENTER button.
Output >
In the image below, you can see the help page for the free command in Linux.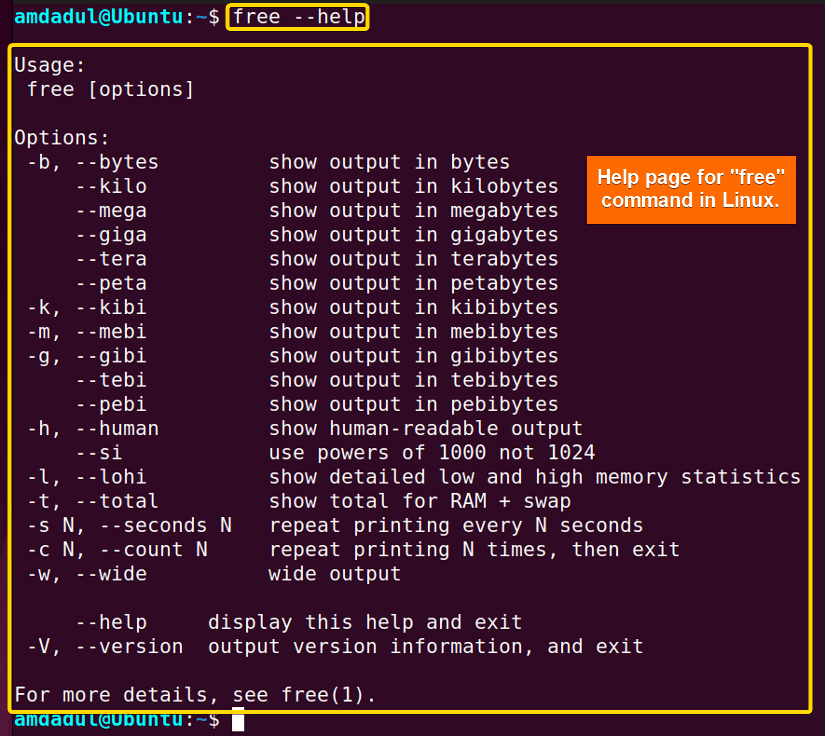
Similar Readings
- The “dmesg” Command in Linux [7+ Practical Examples]
- The “install” Command in Linux [6+ Practical Examples]
- The “reboot” Command in Linux [3 Practical Examples]
- The “sync” Command in Linux [8 Practical Examples]
- The “chage” Command in Linux [7 Practical Examples]
- The “env ” Command in Linux [9 Practical Examples]
Example 8: Get the Version of the “free” Command in Linux
You can see the current version of the free command on your Linux machine with the –version option. Here, I will show you the version of the free command for my machine on the terminal. You can do the same by following the steps given below:
Steps to Follow >
➊ Open the Ubuntu Terminal.
➋ Run the following command:
free --version➌ Press the ENTER key.
Output >
In the following image, you can see that I have displayed the version of the free command in Linux.
Conclusion
The free command in Linux is a simple and powerful tool for monitoring memory usage on the system. By utilizing its various options, you can gain a complete understanding of your system’s memory utilization and make decisions about optimizing memory usage. I have designed this article aiming to provide a comprehensive guide to the free command, with practical examples to help you get started and become an advanced user.
Similar Readings
- The “passwd” Command in Linux [7 Practical Examples]
- The “df” Command in Linux [11 Practical Examples]
- The “sudo” Command in Linux [8 Practical Examples]
- The “apt” Command in Linux [13+ Practical Examples]
- The “htop” Command in Linux [7 Practical Examples]
- The “enable” Command in Linux [6 Practical Examples]
FUNDAMENTALS A Complete Guide for Beginners


