The scp command in Linux copies files between two computers (client and server). It uses the SSH (Secure Shell) protocol which provides secure communication over an insecure network. To copy files using the scp command, you will need an SSH server first and you can set it up easily by installing the “openssh-server” package. However, you cannot execute by the scp command in Linux like ftp command, you will need the ssh command for that. In this article, you will learn some basic concepts with practical examples of the scp command in Linux.
A. Description
The “scp” of the scp command in Linux stands for “Secure Copy”. It was developed as a part of the SSH protocol to transfer files securely, as you cannot do it with the ssh command. Even though the ftp command came earlier, the scp became very popular within a very short time. The scp command in Linux also has some useful options which make it accessible to all types of users, beginner to advanced.
B. Syntax
The scp command in Linux has two syntaxes, one for upload and the other for download. For uploading the syntax goes like the following:
scp [OPTION]... SOURCE username@IP_address:DESTINATIONFor downloading the syntax goes like this:
scp [OPTION]... username@IP_address:SOURCE DESTINATIONC. Options
The scp command in Linux has a ton of options. Here I will list out some of the useful options. To know more about the options, use the following command:
man scpUseful Options
- -4, only uses IPv4.
- -6, only uses IPv6.
- -C, compresses.
- -P, is used for logging in with a specific port.
- -v, enables verbose.
- -r, copies recursively.
How to Setup an SSH Server
I have mentioned earlier that to use the scp command in Linux, you need to have a client and a server computer. In this article, I will use Ubuntu installed in WSL (Windows Subsystem for Linux) as the client computer. In addition, I will use another Ubuntu which is installed in VMware Workstation Pro as the server computer. Now I will show how I have set up the server. Follow the steps below:
- Launch an Ubuntu Terminal on your server computer.
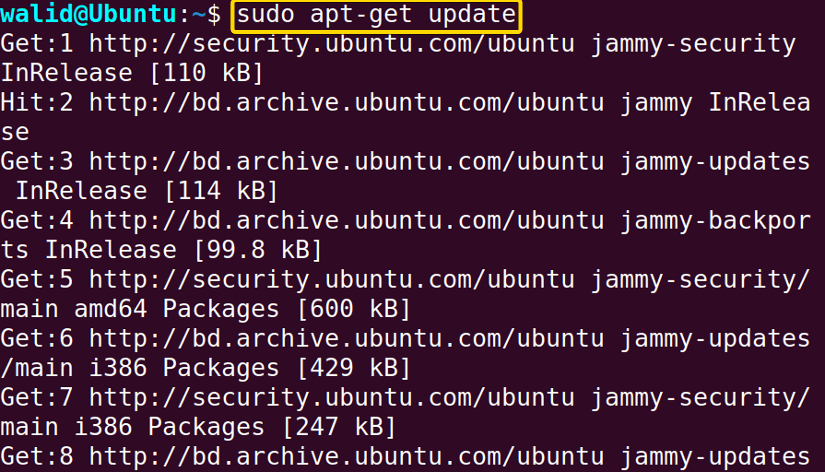
- (Optional) To update your system, copy the following command in your Terminal and press ENTER:
sudo apt-get updateNote: You may need to provide the password.You will get an output like this. Before installing a package, updating the system is always a good practice. Also, in some cases, you may not even be able to install a package.

- Now insert the following command in your command prompt to install the “openssh-server” package and hit ENTER:
sudo apt-get install openssh-serverNote: You may need to provide your password.The installation process will be started. The time may vary depending on your internet speed.

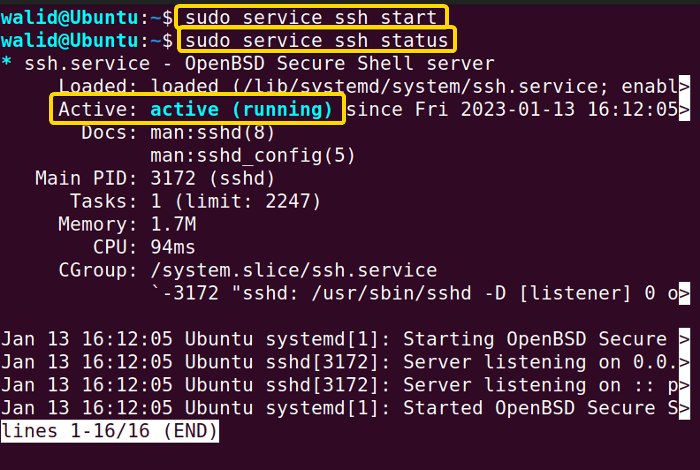
- Write the following two commands one-by-one and press ENTER:
sudo service ssh startsudo service ssh statusThe first command will start the ssh service. By the second command, you can check the status of your server. If you see this “active (running)” message, your server is up and running properly.

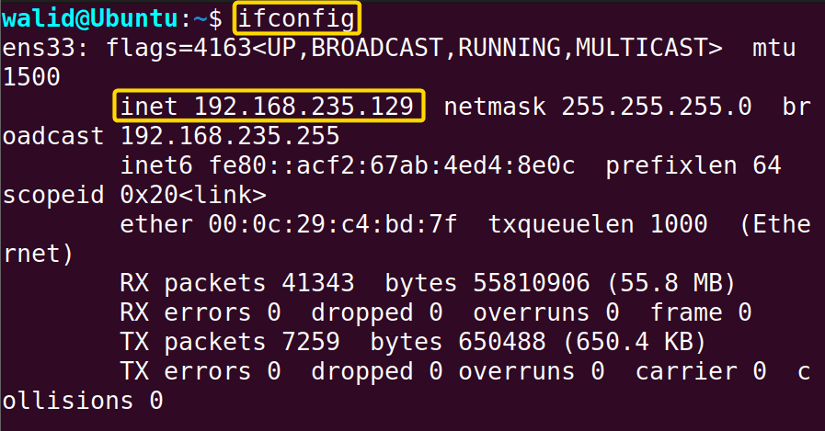
- To know the IP address of your server, type the following command and hit ENTER:
ifconfigNote: If the “ifconfig” command isn’t installed in your system, you can use the following command to install it:sudo apt-get install net-toolsYour IP address is the one followed by inet. In this case, the IP address of my server is 192.168.235.129 and I will use it throughout this article.


Practical Examples of the “scp” Command in Linux
In this section, I will show you some basic usage of the scp command in Linux. Follow every step carefully.
Example 1: Upload a File Using the “scp” Command in Linux
Firstly, I will upload a file to my server. I executed the following command in the client computer to view the name of my file:
lsThere is a file with the name local_file. As I am uploading it to the server, its path should be at the beginning followed by the scp command, then the path of the server. Do the following to upload the local_file file:
- At first open the Ubuntu Terminal.
- Copy the following command in the command prompt and press ENTER:
scp ~/local_file [email protected]:~Note: The tilde symbol (“~”) denotes the home directory in Linux.
- Provide the password associated with the username.
- Now, hit the ENTER button.
Here “~/local_file” denotes the location of the source file, “walid” is the username of the server, and “192.168.235.129” is the IP address of that server. Moreover, the tilde symbol (“~”) at the end denotes that the local_file will be copied to the home directory of the server. You will see five things in the output of the scp command in Linux and they go like the following – filename, percentage, Bytes transferred, speed and estimated time. I executed the following command to view all the files in my server home directory:
lsSee, the local_file is in the server now.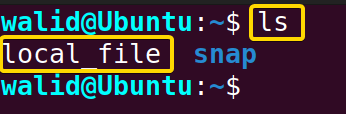

Similar Readings
- The “wget” Command in Linux [14 Practical Examples]
- The “ping” Command in Linux [9 Practical Examples]
- The “curl” Command in Linux [9 Practical Examples]
- The “ dig” Command in Linux [10 Practical Examples]
Example 2: Download a File
As you have guessed, I will now show you how to download a file from the server. At first, I executed the following command in my server:
lsThere is a file with the name remote_file. Now I will download it to the client computer. As I am downloading a file now, the address of the file in the server will be at the beginning followed by the scp command in Linux.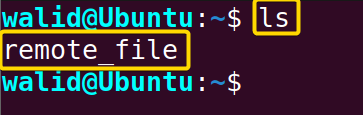 Now follow the steps below:
- Launch an Ubuntu Terminal in the client computer first.
- Insert the following command in the Terminal and hit ENTER:
scp [email protected]:~/remote_file ~ - Provide the password.
- Find the ENTER button on your keyboard and hit it.
Here, I typed the username and IP address of the server first because I wanted to download a file and the “~/remote_file” is the location of that file. In addition, the tilde symbol (“~”) at the end, followed by a space, denotes that the file will be downloaded to the home directory of the client computer. It is showing 100%, which means the download is completed. Finally, I used the following command to check whether the file is downloaded or not:
lsAs you can see, there is the remote_file in the client computer now.
Example 3: Copy a Directory
In this example, I will learn how to copy a directory using the scp command in Linux. If you try to copy a directory using the steps shown in Example 1 and Example 2, you will get an error. I need to use the option “-r” of the scp command in Linux for this purpose. Option “-r” enables recursive copy which means all the files of a directory and its subdirectories will be copied. At first, I executed the command below to view all the directories and subdirectories of the server:
ls -RAs you can see, my server has a directory named mydirectory, which contains a file (myfile) and subdirectory (myfolder). The myfolder directory also contains two files named myfile1 and myfile2.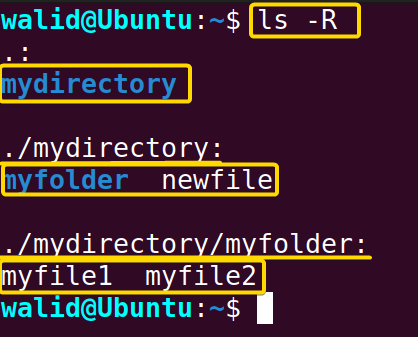 To copy all to the client computer, do the following:
- At the beginning, open an Ubuntu Terminal from your client computer.
- Write the following command in the Terminal and hit ENTER:
scp -r [email protected]:~/mydirectory ~ - Give the password of your user account.Press the ENTER key from your keyboard.
In the output, it is showing 100% for all the files in the mydirectory. Then I used the following command to see whether the hierarchy was also in order:
ls -RAnd see, the scp command has copied mydirectory exactly like it was in the server.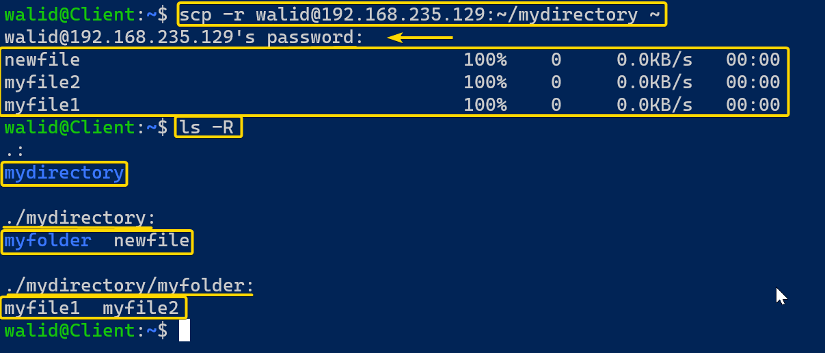
Example 4: Enable Verbose Mode in the “scp” Command in Linux
The scp command in Linux has an option to enable verbose mode. Verbose mode is helpful for debugging process. For instance, you are having trouble while using the scp command in Linux and you have no idea what is the issue here. You can use the option “-v” to enable verbose mode then which will show you each and every step of the communication process. Moreover, you can also use “-vv” and “-vvv” for more in-depth information. Follow the steps below to enable verbose mode:
- At first, launch an Ubuntu Terminal on your client computer.
- Insert the following command in the command prompt:
scp -v ~/local_file [email protected]:~/mydirectory - Go to your keyboard and hit ENTER.
Here I copied a file name local_file from the client to a directory named mydirectory of the server. I didn’t complete the whole process. I just showed the output at the beginning which is showing how the verbose mode is taking action. It is showing every step of the connection process with the word “debug” at the beginning.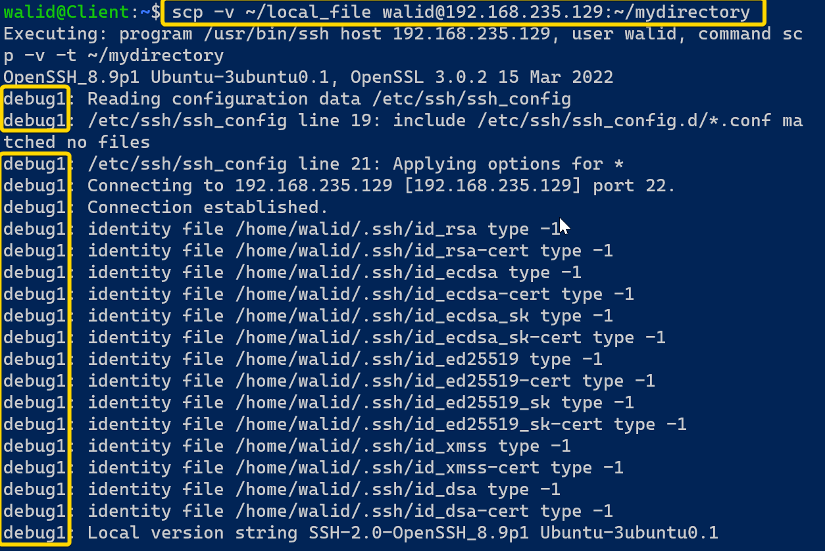
Conclusion
The scp command in Linux is quite easy to understand. Here I have shown you some elementary usage of the scp command. Hopefully, this article has helped you to grasp the basic concept of the scp command in Linux.
Similar Readings
- The “screen” Command in Linux [13 Practical Examples]
- The “sftp” Command in Linux [6 Practical Examples]
- The “ssh” Command in Linux [18 Practical Examples]
- The “ftp” Command in Linux [14 Practical Examples]
- The “host” Command in Linux [10 Practical Examples]
- The “hostname” Command in Linux [12 Practical Examples]
FUNDAMENTALS A Complete Guide for Beginners


