The rm command is one of the handiest commands in Linux. It is used to remove files and directories without leaving the terminal. You can modify the rm command with various specific options to permanently remove different contents in different scenarios. Hence, as a Linux enthusiast, you should learn in detail about the rm command in Linux.
A. Description
In Linux, rm is the abbreviation for remove. As the name suggests it removes contents(i.e. files, directories) and the removal is permanent.
B. Syntax
The syntax for the rm command is pretty simple which is the command itself followed by some specific options and the file/directory name you want to remove.
rm [OPTION]... [FILE]...C. Options
Many useful options are available for the rm command. I have listed some of the most used ones here. However, if you want to know more about options for the rm command you can always check the man page for the rm command.
man rmUseful Options
- -d or –dir, Removes an empty directory
- -f, Removes nonexistent files or ignores prompt.
- -i, Displays an interactive prompt
- -I, Similar to the -i option but less prominent as only shows a prompt for every three files or recursive removal.
- -r or -R or –recursive, Removes the contents of a directory recursively.
Practical Examples of “rm” Command in Linux
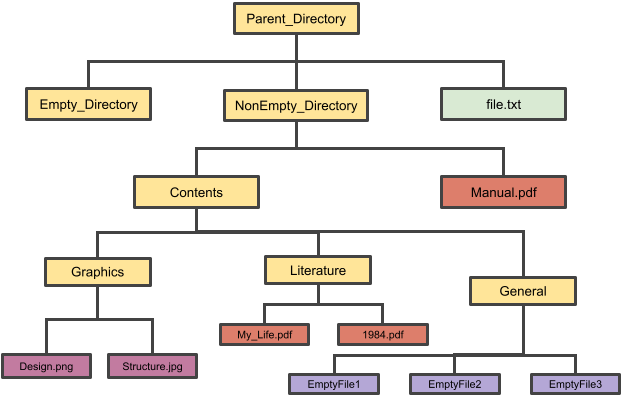
The rm command in Linux is an easy-to-use command which is used to remove contents. Some of the most useful applications of the rm command have been illustrated below. In this article, I have worked with the following directory hierarchy and files.
Example 1: Removing a File Using the “rm” command in Linux
I have a directory named “Parent_Directory” on my Desktop. This directory contains two sub-directories and a file named “file.txt”.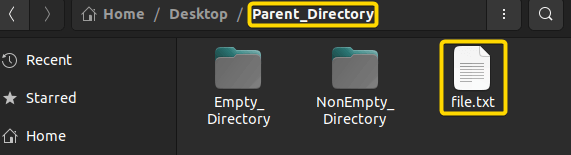 To remove the file using the rm command you can follow the below procedure.
Steps to Follow >
➊ First, open the Ubuntu Terminal inside the directory named “Parent_Directory”.
You can open Ubuntu Terminal from a specific directory. To learn details about that click here.
➋ Type the following command in the command prompt:
rm file.txt➌ Now, press the ENTER button.
Output >
You can see in both images that the file.txt file is removed. In the first image, I have listed the contents of a directory using the ls command both before and after removing the content.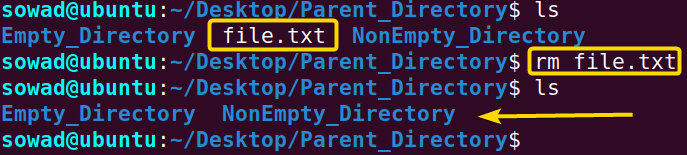 And, In the 2nd image, you can see from the Graphical User Interface(GUI) that the file has been removed from the directory.
Example 2: Removing Multiple Files
I have a sub-directory named “General” inside the “Parent_Directory” directory located on my Desktop. This directory contains three files as shown in the following image.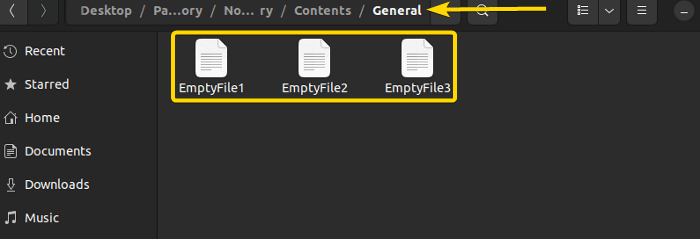 To remove these 3 files using the rm command you can follow the below procedure.
Steps to Follow >
➊ First, open the Ubuntu Terminal inside the “General” directory.
You can open Ubuntu Terminal from a specific directory. To learn details about that click here.
Alternatively, If you’re already in the “Parent_Directory” from the previous example you can just type the following command in the command prompt to jump into the “General” directory:
cd NonEmpty_Directory/Contents/General![]() ➋ Type the following command in the command prompt:
➋ Type the following command in the command prompt:
rm EmptyFile1 EmptyFile2 EmptyFile3➌ Now, press the ENTER button.
Output >
You can see in both images that our desired 3 files are removed. In the first image, I have listed the contents of a directory using the ls command both before and after removing the content. And, In the 2nd image, you can see from the Graphical User Interface(GUI) that the files have been removed from the directory.
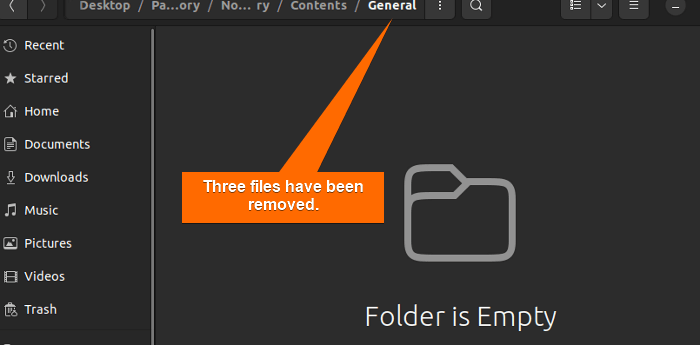
Similar Readings
- The “diff” Command in Linux [11 Practical Examples]
- The “cmp” Command in Linux [7 Practical Examples]
- The “comm” Command in Linux [10 Practical Examples]
Example 3: Using the “rm” Command to Remove an Empty Directory
I have a directory named “Parent_Directory” on my Desktop. This directory contains an empty folder named “Empty_Directory”.
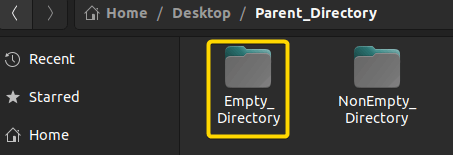
To remove the empty directory using the rm command with the -d option you can follow the below procedure.
Steps to Follow >
➊ First, open the Ubuntu Terminal inside the “Parent_Directory” directory.
You can open Ubuntu Terminal from a specific directory. To learn details about that click here.
➋ Type the following command in the command prompt:
rm -d Empty_Directory➌ Now, press the ENTER button.
Output >
You can see in both images that the desired directory is removed. In the first image, I have listed the contents of a directory using the ls command both before and after removing the content.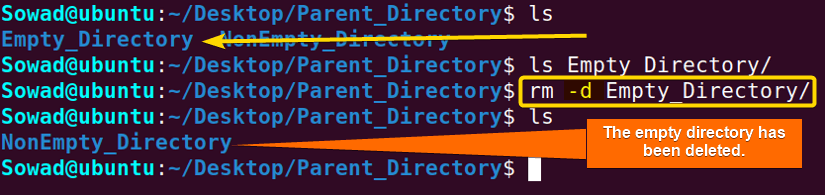 And, In the 2nd image, you can see from the Graphical User Interface(GUI) that the desired empty directory has been removed.
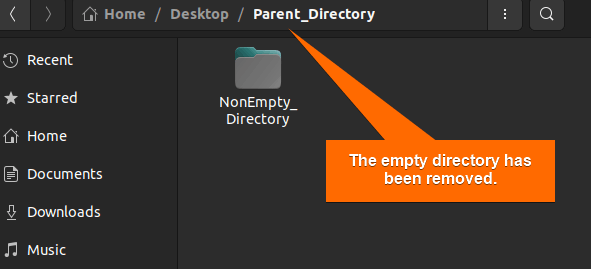
Example 4: Using the “rm” Command to Remove a Nonempty Directory
I have a sub-directory named “Contents” in the directory named “Parent_Directory” located on my Desktop. Which contains a nonempty directory named “Graphics”.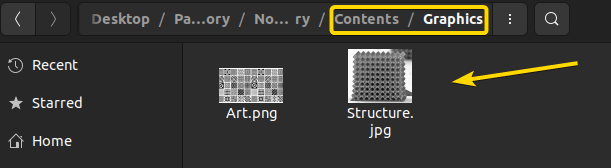 To remove this non-empty directory using the rm command with the -r option you can follow the below procedure.
Steps to Follow >
➊ First, open the Ubuntu Terminal inside the “Contents” directory.
You can open Ubuntu Terminal from a specific directory. To learn details about that click here.
Alternatively, If you’re already in the “Parent_Directory” from the previous examples you can just type the following command in the command prompt to jump into the “Contents” directory:
cd NonEmpty_Directory/Contents➋ Type the following command in the command prompt:
rm -r Graphics➌ Now, press the ENTER button.
Output >
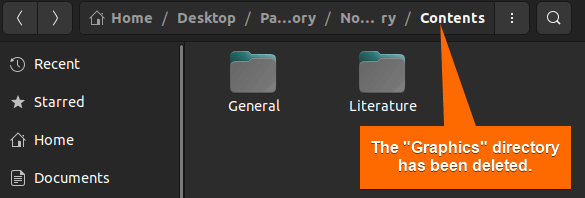
You can see in both images that the desired directory is removed. In the first image, I have listed the contents of a directory using the ls command both before and after removing the content. And, In the 2nd image, you can see from the Graphical User Interface(GUI) that the desired non-empty directory has been removed.
Example 5: Prompting Before Removing
You might’ve already learned that you can’t retrieve anything once you’ve removed it using the rm command. Therefore, you can use the -i option to prompt a warning system by following the below process.
Steps to Follow >
➊ First, open the Ubuntu Terminal inside the “Parent_Directory” directory.
You can open Ubuntu Terminal from a specific directory. To learn details about that click here.
➋ Type the following command in the command prompt:
rm -ri NonEmpty_Directory➌ Now, press the ENTER button.
Output >
You can see in the following image that an interactive message prompts up. You can type “Y” to commence the task or “N” to move to the next task.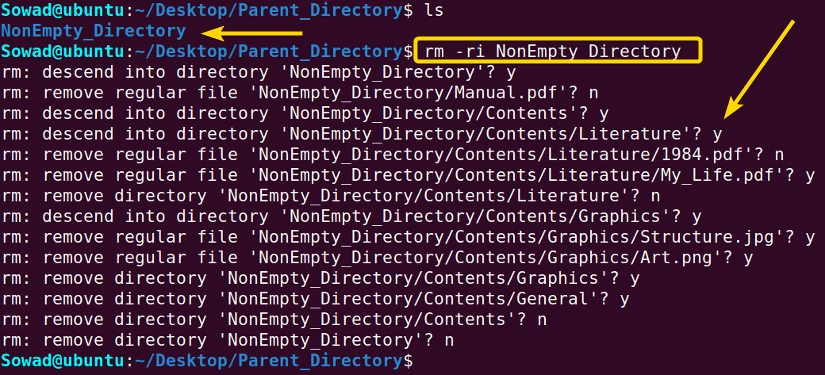
Similar Readings
- The “ln” Command in Linux [6 Practical Examples]
- The “lsof” Command in Linux [8 Practical Examples]
- The “tar” Command in Linux [12 Practical Examples]
Example 6: Using the “rm” Command to Remove Contents by Ignoring the Prompt
I have a sub-directory named “NonEmpty_Directory” in the directory named “Parent_Directory” located on my Desktop.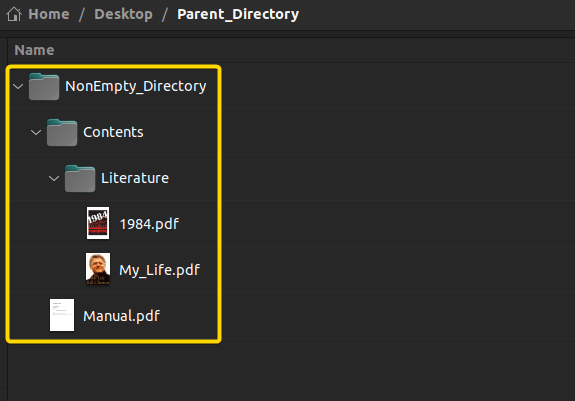 Now, I want to remove the “NonEmpty_Directory” directory itself with all its contents. Like the previous example, I’ll use the -i option to prompt a warning system. However, to ignore confirmation every time I’ll forcefully remove the contents using the -f option as well. By following the below process you will be able to do so.
Steps to Follow >
➊ First, open the Ubuntu Terminal inside the “Parent_Directory” directory.
You can open Ubuntu Terminal from a specific directory. To learn details about that click here.
➋ Type the following command in the command prompt:
rm -rif NonEmpty_Directory➌ Now, press the ENTER button.
Output >
You can see in the following image that an interactive message didn’t prompt up. However, everything was deleted.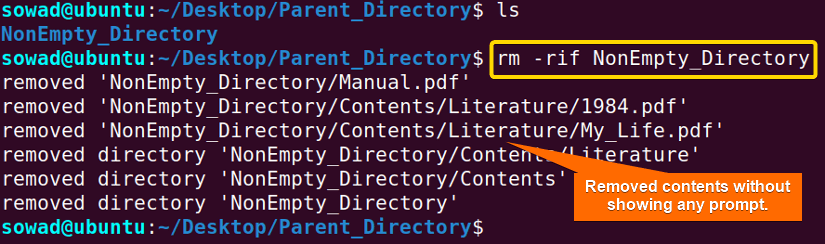
Example 7: Using the “rm” Command to Remove Write-Protected Contents
You cannot remove a write-protected file or directory even with the -f(force) option enabled. I have a directory named “Parent_Directory” on my Desktop.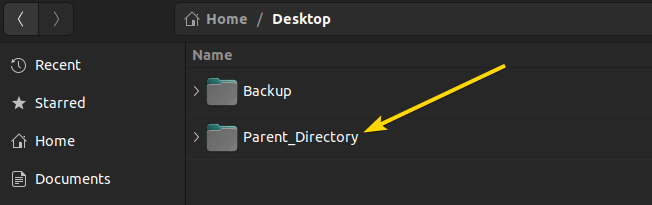 Now I’ll make it write-protected and then remove it. By following the below process you will be able to do so.
Steps to Follow >
➊ First, open the Ubuntu Terminal in the Desktop directory.
You can open Ubuntu Terminal from a specific directory. To learn details about that click here.
➋ To make the directory write-protected by removing the write permission, type the following command in the command prompt:
chmod a-w Parent_Directory➌ Now, press the ENTER button.
From the below image, you can see the write permission of the user and group has been revoked for the desired directory.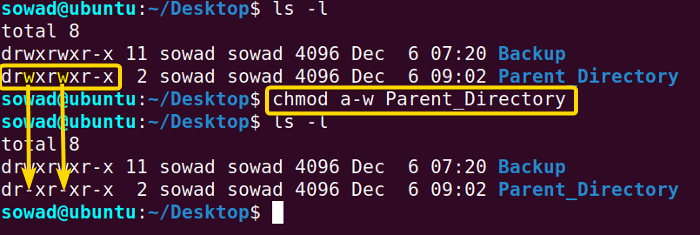 ➍ Finally to remove it type the following command in the command prompt:
sudo rm -r Parent_Directory➎ Now, press the ENTER button.
Output >
You can see in both images that the desired directory is removed. In the first image, I have listed the contents of a directory using the ls command both before and after removing the content.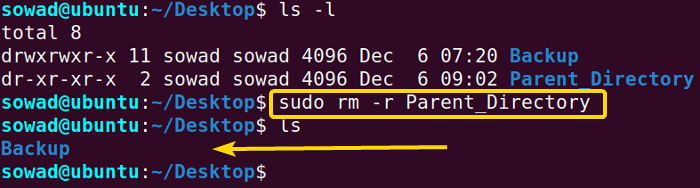 And, In the 2nd image, you can see from the Graphical User Interface(GUI) that the desired directory has been removed.
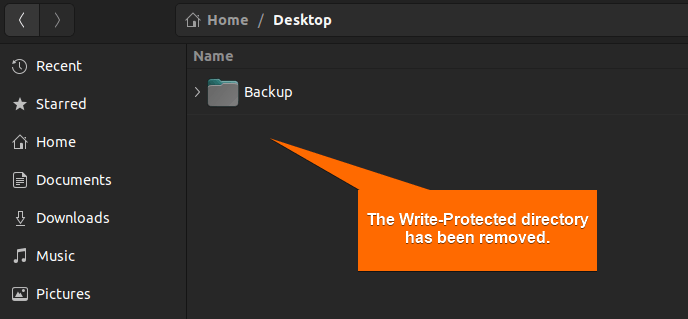
Conclusion
In this article, I have tried to present you the applications and usefulness of the rm command in Linux. Hope that you’ll be able to explore more things with the help of these practical examples. However, always be careful while using the rm command with important files as you can not bring back the removed ones.
Similar Readings
- The “chgrp” Command in Linux [7 Practical Examples]
- The “file” Command in Linux [9+ Practical Examples]
- The “fsck” Command in Linux [7 Practical Examples]
- The “patch” Command in Linux [4 Practical Examples]
- The “rmdir” Command in Linux [7 Practical Examples]
- The “stat” Command in Linux [9 Practical Examples]
FUNDAMENTALS A Complete Guide for Beginners


