The vim command in Linux is a powerful, faster text editor with advanced features. However, it isn’t suitable for novices. Even though, the nano command is easy to use but it isn’t efficient for complicated tasks. That is why professionals or advanced users look for another option and the vim command in Linux is a contender for that. It has special features like GUI mode, autocompletion, color schemes, and auto-completion. Moreover, searching and replacing, undoing, and redoing is comparatively easy in the vim command.
A. Description
The “vim” of the vim command in Linux is short of “Vi Improved”. Vi is a part of the UNIX operating systems. A large number of commands and features make Vi a powerful, versatile and efficient tool. The vim command in Linux is an upgraded form of Vi. The normal mode and insert mode of the vim command comes from the Vi text editor. However, the vim command has other modes as well like visual mode, command-line mode, Ex mode where each mode provides different functionality.
B. Syntax
The vim command in Linux can take multiple options and open multiple files. Now, the syntax of the vim command goes like the following
vim [OPTION]... [FILE]...C. Options
The vim command in Linux has a lot of options, as I have mentioned earlier. To check them out, execute the following command in the command prompt:
man vimHere I have listed some of the useful options for you in the following:
Useful Options
- -t, positions cursor based on a tag.
- -b, enables binary mode.
- -D, goes to debugging mode.
- -m, makes modifying files disabled.
- -R, opens a file in read-only mode.
- -r, enables recovery mode.
- -v, starts the vim command in Vi mode.
How to Install the “vim” Command in Linux
Firstly, I will install the vim command in Linux as it doesn’t come by default in most systems. It is a simple four-step process. To install the vim command, follow the step below:
- At first, open a Terminal in your Ubuntu.
- Copy the following command in the command prompt and hit ENTER:
sudo apt-get install vim - Provide your password if necessary and press the ENTER button again.
- Write the following if you get the message “Do you want to continue” and hit ENTER:
yNote: If it doesn’t work, run the command from below and start from step 2:
sudo apt-get update
In the image, you can see my system is installing the vim command in Linux. Also, it is asking for my permission whether I really want to install it or not.
Practical Examples of the “vim” Command in Linux
In this part, I will show you some practical examples of the vim command in Linux. For demonstration purposes, I will use the same file named “myfile.txt” throughout all the examples. I have also provided the text I have used so that you can follow along with all the steps. Moreover, to learn the basic functionality of the vim command in a very short time, you can use the following command:
vimtutorExample 1: Open a File in Vim
Now I will open a file in the vim text editor using the vim command in Linux. Remember, you can open both existing and non-existing files. If you open a non-existing file, the vim command will create a file by this name, similar to the nano command. Now do the following to open a file named “myfile.txt”:
- Launch an Ubuntu Terminal first.
- Insert the following command to open a file:
vim myfile.txt - Press ENTER from the keyboard.
You will get an output like this. The file is open in normal mode. You cannot write on the file yet. I will show you how to enable insert mode in the next example. In the end, you will see the name of your file. If it is created for the first time, you will see “New” as well.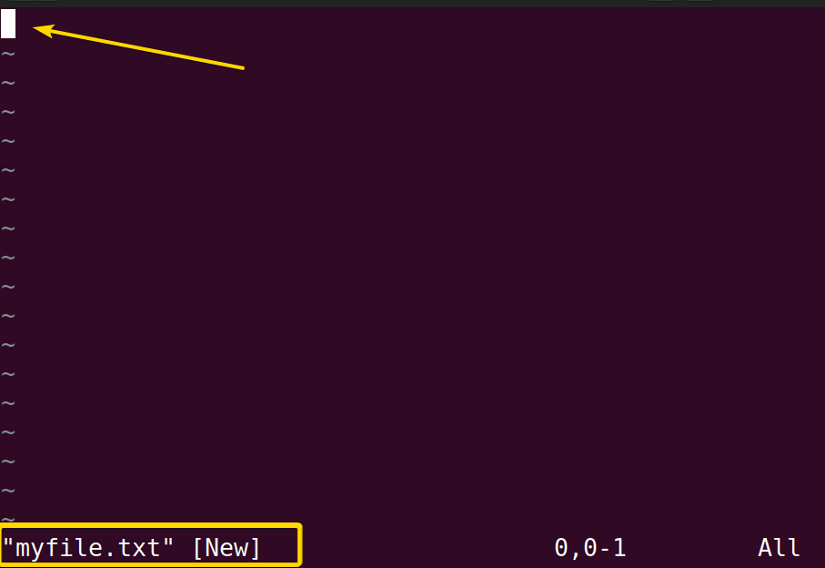 I executed the following command to see whether the file has been really created or not:
lsSee, there is a file named myfile.txt in the home directory of my computer.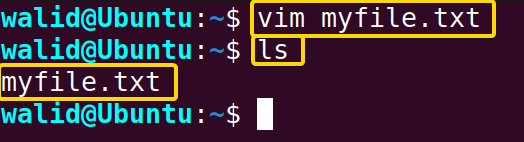
Similar Readings
- The “grep” Command in Linux [10+ Practical Examples]
- The “wc” Command in Linux [15 Practical Examples]
- The “sort” Command in Linux [16 Practical Examples]
Example 2: Enable Insert Mode in the “vim” Command in Linux
To write anything on a file using the vim command in Linux, you need to go into the insert mode first. To enable insert mode, follow the steps below:
- Go to your Ubuntu and open a Terminal.
- Insert the following command to open a file and press ENTER:
vim myfile.txt - To enable insert mode, type “I” from your keyboard.
You will notice that now you can now write on the Terminal. Moreover, in the end, you will see “–INSERT–” which indicates that you are in insert mode.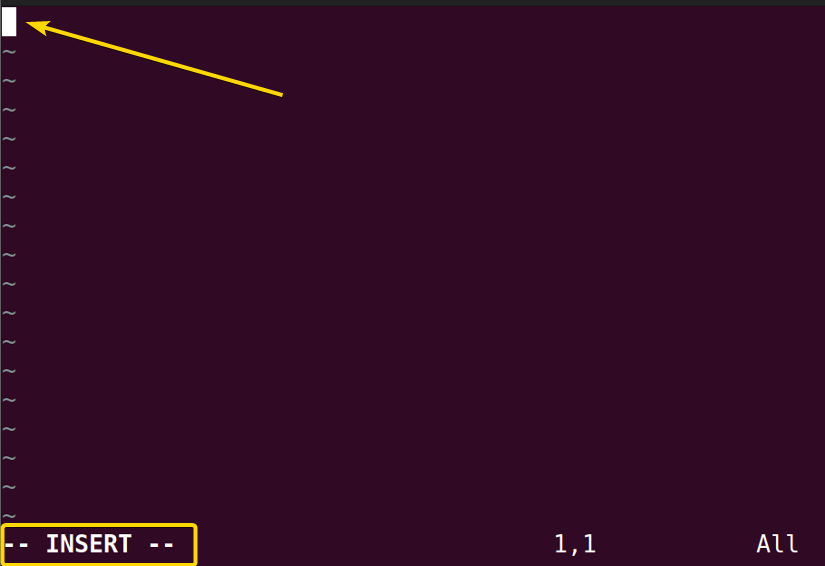
Example 3: Save a File and Exit
If you write something on a file, you would want to save it and exit, right? Don’t worry; now I will show you how to save and exit at the same time in the vim command in Linux. You should remember that in the vim command, the colon (“:”) is used to write any commands and you need to be in the normal mode for that. Now do the following to save and exit:
- At the beginning, open an Ubuntu Terminal.
- Then copy the following command in the command prompt and press ENTER to open a file:
vim myfile.txt - Press “I” on your keyboard and write the following:
Welcome to Linuxsimply! - Press “ESC” on your keyboard to shift into normal mode.
- Now insert the following to save and exit at the same time:
:wqNote: If you want to save only, type “:w”, or only to exit type “:q”.
I used the command “:wq” to save and exit simultaneously. The colon is used to tell the vim command in Linux that I am going to enter a command now. The “w” is for saving the current file and the “q” is exiting from the vim editor.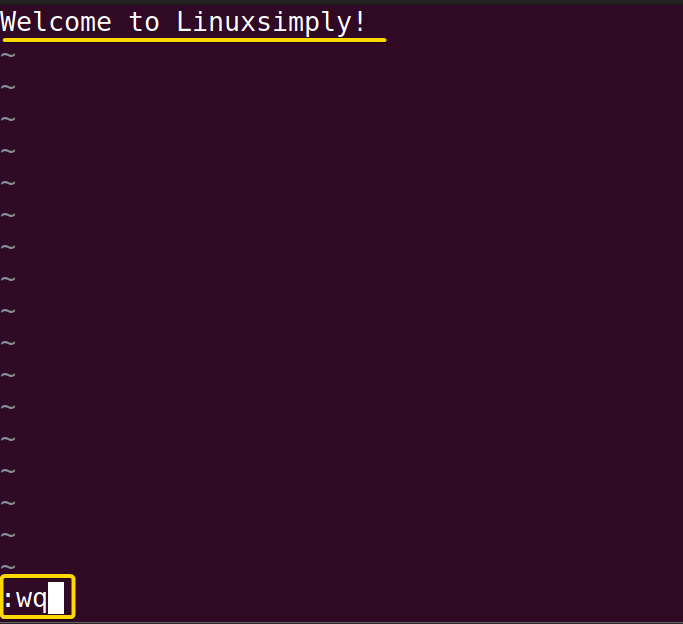
Similar Readings
- The “nano” Command in Linux [13 Practical Examples]
- The “cut” Command in Linux [8 Practical Examples]
- The “jed” Command in Linux [8 Practical Examples]
Example 4: Undo and Redo in the “Vim” Command in Linux
It is impossible to imagine a text editor with undo and redo features. All of us use these features on regular basis. The vim command in Linux also comes with those features. In this example, I will show you how to utilize those features. Firstly, I will write a line. Then undo it which will delete the line. Again, I will make the line reappear by redoing it. To undo and redo in the vim text editor, do the following:
- Firstly, launch a Terminal in your Ubuntu.
- Copy the following command to open a file and press ENTER:
vim myfile.txt - Press “I” and write the following line on the Terminal:
Welcome to Linuxsimply! - Press “ESC” on your keyboard to enable normal mode.
- To undo, press “U”.
- To redo, press CTRL + R.
Firstly, you can see the “Welcome to Linuxsimply!” line.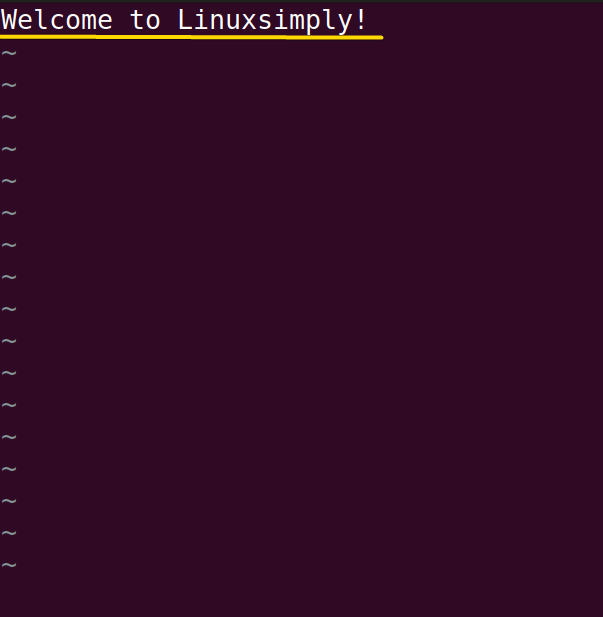 After undoing, the line is gone. The “1 change” at the end denotes that one change has been undone.
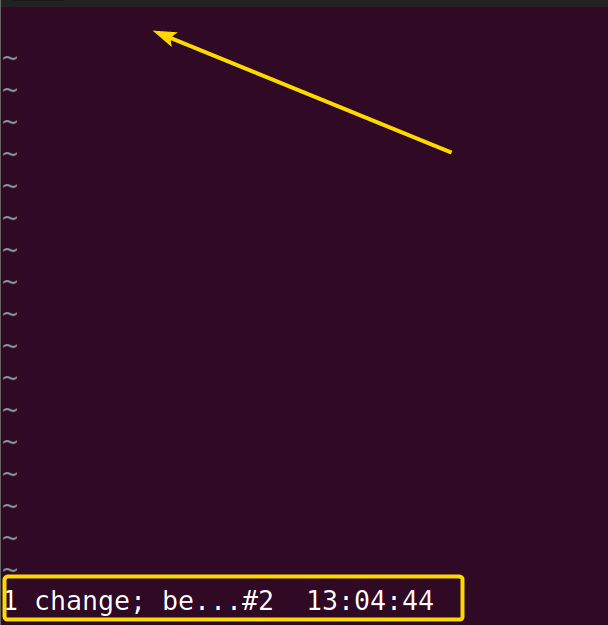 Again, after redoing, the line has reappeared again. Moreover, the “1 change” at the end denotes that one change has been redone.
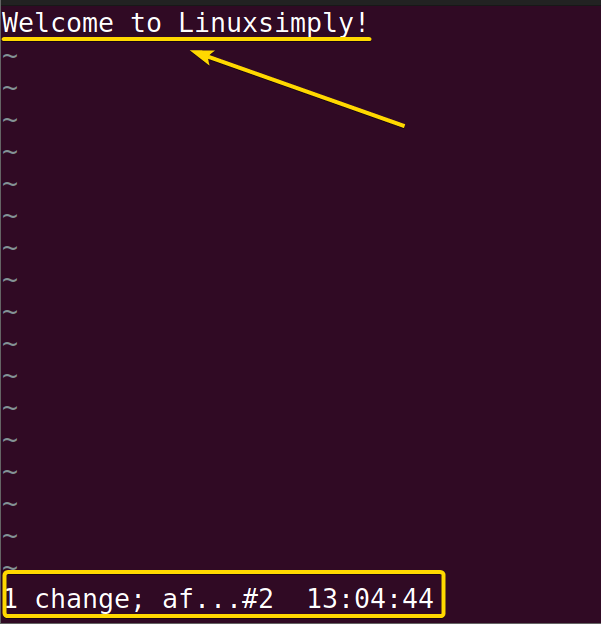
Example 5: Search a Word
Searching is an important feature for a text editor. Now you will learn how to search a word in the vim command in Linux. To search for a word, follow the steps below:
- Go to Ubuntu and open a Terminal.
- Write the following command and press ENTER to open a file:
vim myfile.txt - Press “I” and copy the line in the Terminal:
Welcome to Linuxsimply! - Press “ESC” from your keyboard to enter normal mode.
- Insert the following line to search word “Welcome”:
/WelcomeNote: The search is case–sensitive.
Here I searched for the word “Welcome” and see, the word got highlighted. If I press ENTER, the cursor will the at the beginning of that word.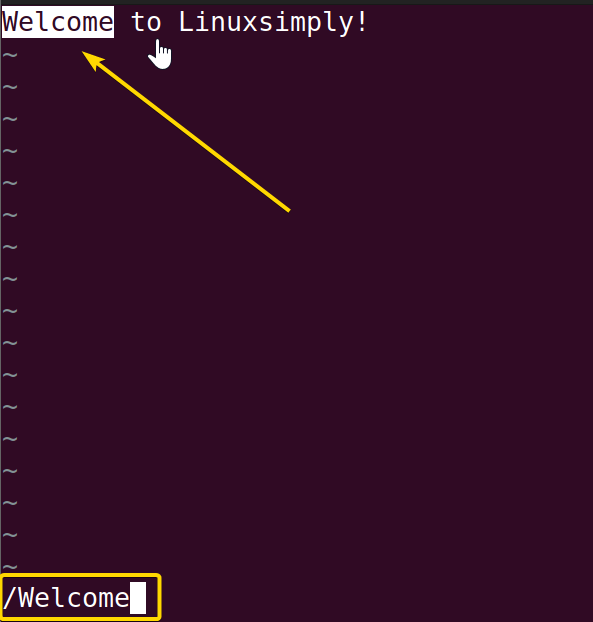
Example 6: Set Numbers and Go to a Particular Number Using the “Vim Command in Linux
In this example, I will set a number for each line and go into a particular line. Now to set numbers and go to a specific number, do the following:
- At first, launch an Ubuntu Terminal.
- Type the following line in the command prompt to open a file and hit ENTER:
vim myfile.txt - Press “I” from the keyboard to enable insert mode and then write the following lines:
Welcome to Linuxsimply! At LinuxSimply.com, we are committed to delivering high-quality content that is easy to understand. Our articles are carefully researched and written in a clear, concise style. - Press “ESC” to enable normal mode.
- Write the following line to set numbers for each line and press ENTER:
:set number - To go to a particular line (line 2 for instance), insert the following and hit ENTER:
:2
There are some lines in the first image and I want to number them.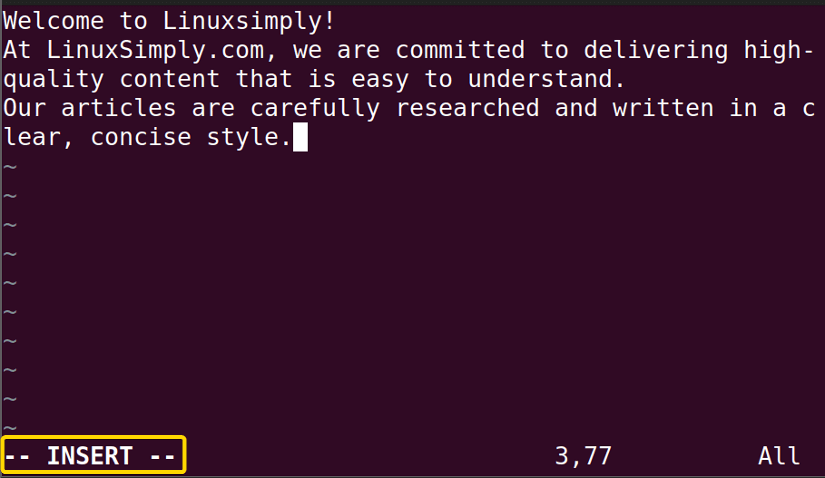 I followed the first five steps first. As a result, all the lines are numbered now. You can see the numbers on the left side.
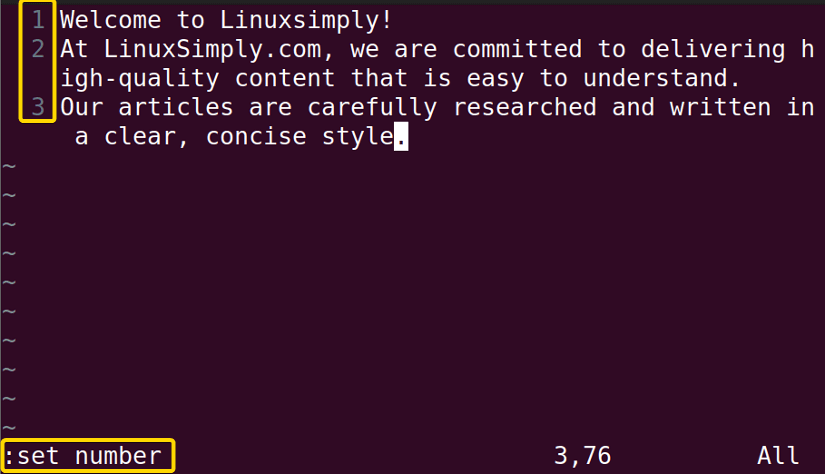 Finally, I followed step 6 to go to the second line. As you can see, the cursor is at the beginning of the second line.
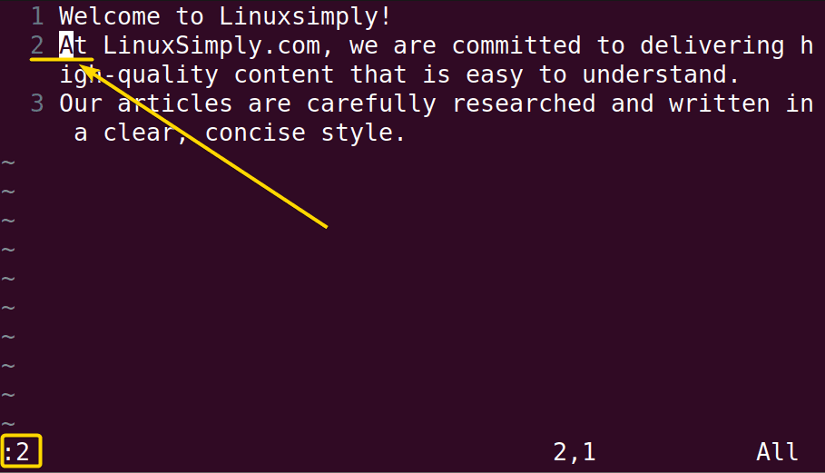
Similar Readings
- The “vi” Command in Linux [6 Practical Examples]
- The “egrep” Command in Linux [10+ Practical Examples]
Example 7: Delete a Line
Now I will delete a line in the vim command in Linux. Deleting a line is quite simple in the vim command. To delete a line, follow the steps below:
- Go to your Ubuntu and launch a Terminal for the first time.
- Insert the command below to open a file and press ENTER:
vim myfile.txt - Press “I” and copy the following lines:
Welcome to Linuxsimply! At LinuxSimply.com, we are committed to delivering high-quality content that is easy to understand. Our articles are carefully researched and written in a clear, concise style. - Now press “ESC” on your keyboard to enable the normal mode.
- Use the arrow keys to move the cursor and place it on a line you want to delete.
- Type the following to delete that line:
dd
As you can see, I placed the cursor on the last line as I wanted to delete it.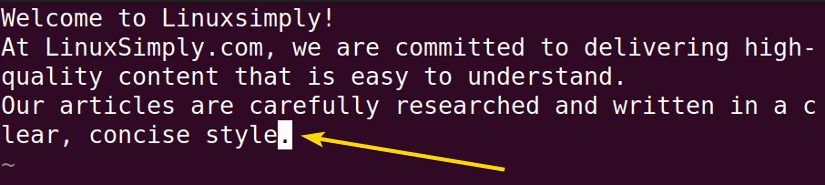 And see, that line is deleted.
Example 8: Copy and Paste Using the “Vim Command in Linux
At the end, I will show you how to copy and paste in the vim command in Linux as you will be doing it a lot. In addition to that, you will use the visual mode for the first time. In this example, I will copy a line and paste it into the second line. Now to copy and paste in the vim command, do the following:
- Open a Terminal in your Ubuntu at first.
- Write the following command in the command prompt to open a file and press ENTER:
vim myfile.txt - Then type “I” and copy the following line:
Welcome to Linuxsimply! - Press the “ESC” button and “V” to enter into the visual mode.
- Use the arrow keys (or mouse) to highlight what you to copy.
- To copy, type “Y”.
- Then press the “ESC” and “I” to enter into the insert mode and then place your mouse cursor.
- Finally, go into normal mode by pressing “ESC” and type “P” to paste.
In this example I copied “Welcome to Linuxsimply!” and the first image is showing how I highlighted it while I was in visual mode.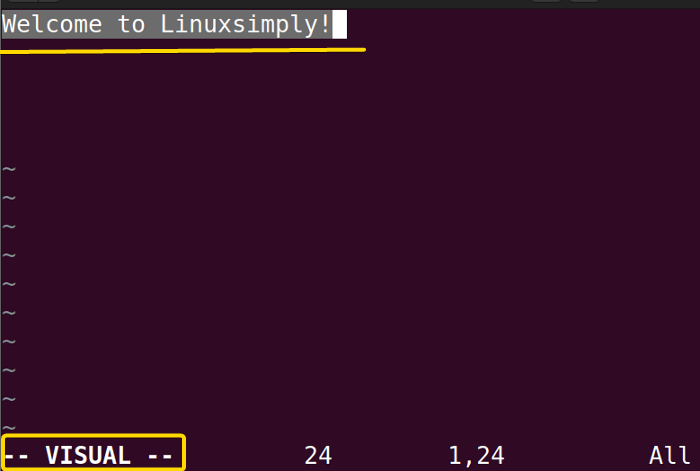 And in the second image, you can see that I first line is successfully copied to the second line.
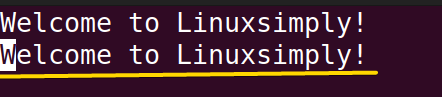
Conclusion
In this article, I have tried to show some of the basics of the vim command in Linux. However, it is a huge topic to cover in a single article. Hopefully, this article will make your journey in the vim command in Linux easier.
Similar Readings
- The “paste” Command in Linux [6 Practical Examples]
- The “split” Command in Linux [6 Practical Examples]
- The “sed” Command in Linux [7 Practical Examples]
- The “tr” Command in Linux [6 Practical Examples]
- The “uniq” Command in Linux [6 Practical Examples]
- The “printf” Command in Linux [8 Practical Examples]
FUNDAMENTALS A Complete Guide for Beginners


